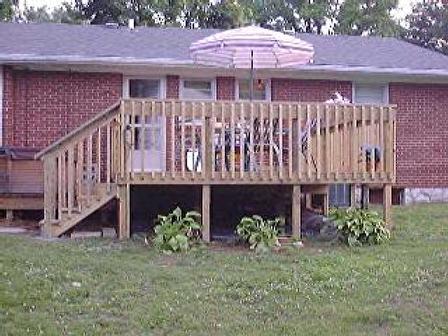
| In the spring of 1999 I was wanting to increase the size and usability of the deck we had off the back of our house in Bowling Green. It had an old redwood deck that was much too small for our needs (8'x10'). Next to that deck was my 10'x10' deck that I had built for our hot tub and moved from our other home. The new deck needed to be designed and built to bring these two spaces together. I bought a deck design program for my PC and modified the design to suit our needs. On a budget of $1000.00, below are pictures of the 12'x14' deck I built. |
  Left
is a Left
is a |
  Left
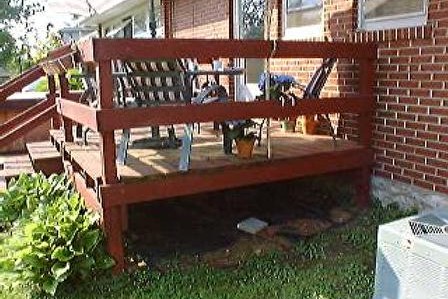
is the right front of the old deck. Left
is the right front of the old deck. |
  Left
is the front view of the old deck and Left
is the front view of the old deck and |
  Left is the left front view of the old deck. Right is the same view
of the new deck.
Left is the left front view of the old deck. Right is the same view
of the new deck. |
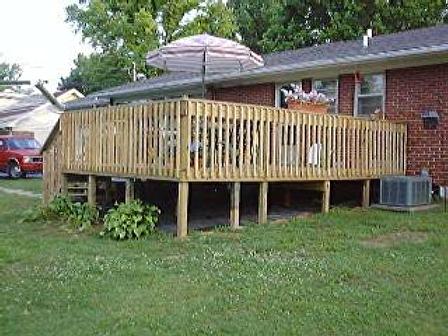
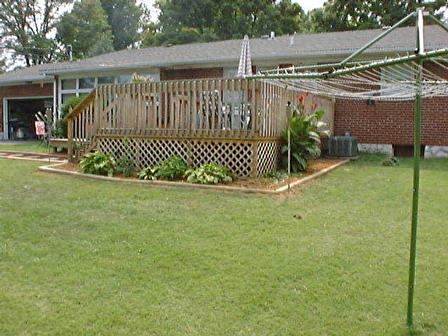
  Left
is a full view shot of the new deck before the skirt was attached. Left
is a full view shot of the new deck before the skirt was attached. |
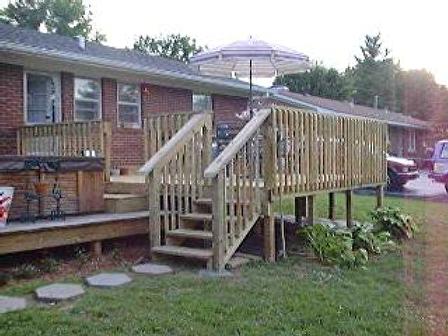
 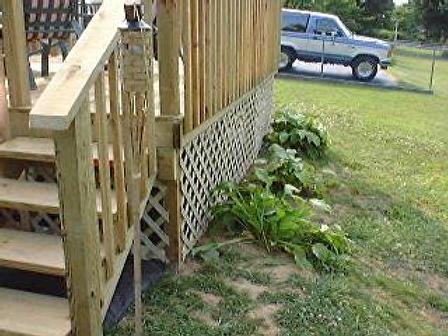 Left is a shot of the stairs and bottom front of the deck after the
latticework skirt was attached. Right is the west side.
Left is a shot of the stairs and bottom front of the deck after the
latticework skirt was attached. Right is the west side. |
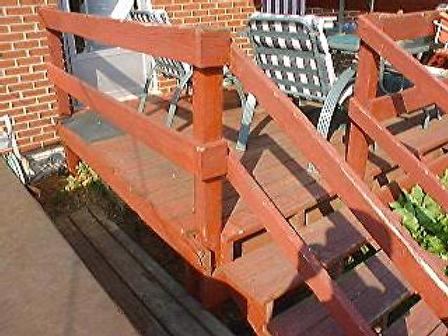
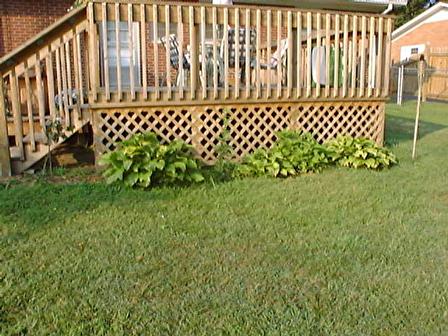
 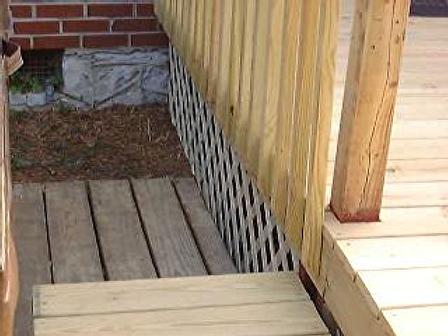 Left is a picture of the step that joined the big deck to the hot tub
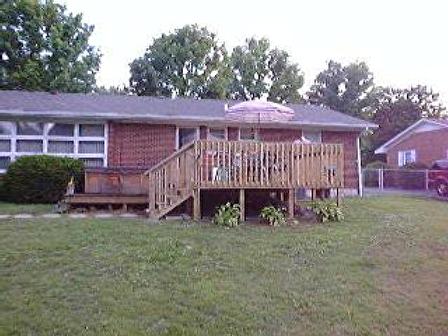
deck. Right is a picture of the deck from the back yard.
Left is a picture of the step that joined the big deck to the hot tub
deck. Right is a picture of the deck from the back yard. |
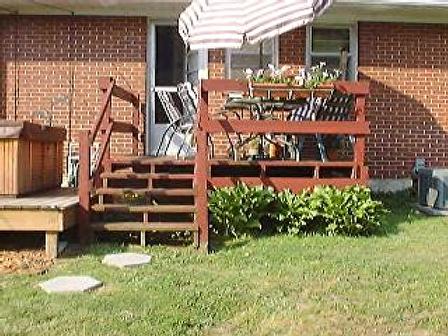
 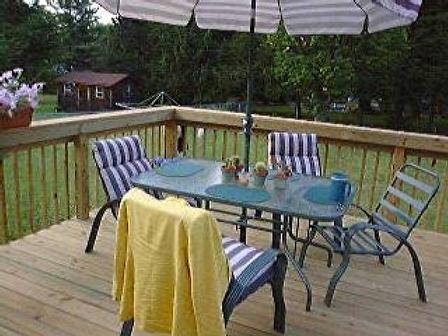 Left is a photo of our patio furniture on the deck itself. We had
plenty of space to maneuver. In 2000, we thought it might be nice to
do some additional landscaping around the deck and to build a walkway from
the driveway to the back door. The picture on the above right shows the
stepping stones we had in place originally. We were constantly
having to mow around them. Below are the before and after pictures
detailing the landscaping project.
Left is a photo of our patio furniture on the deck itself. We had
plenty of space to maneuver. In 2000, we thought it might be nice to
do some additional landscaping around the deck and to build a walkway from
the driveway to the back door. The picture on the above right shows the
stepping stones we had in place originally. We were constantly
having to mow around them. Below are the before and after pictures
detailing the landscaping project. |
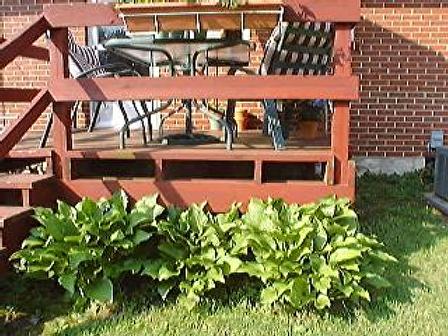
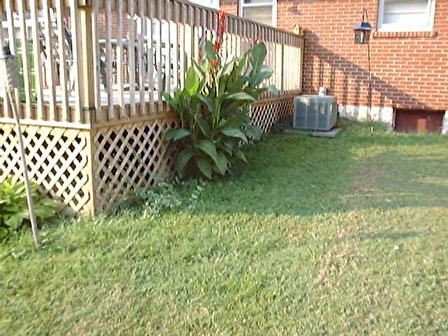
  The pictures to the left, right and below left are the before shots.
 |
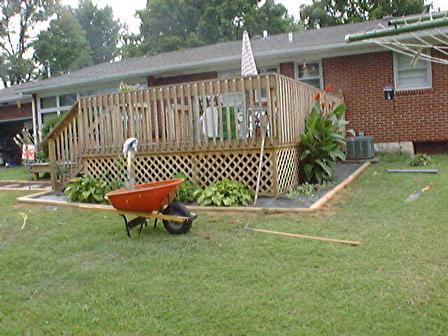
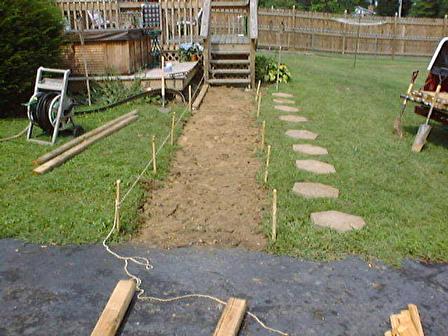  The
first step was to dig out the walkway. The
first step was to dig out the walkway. |
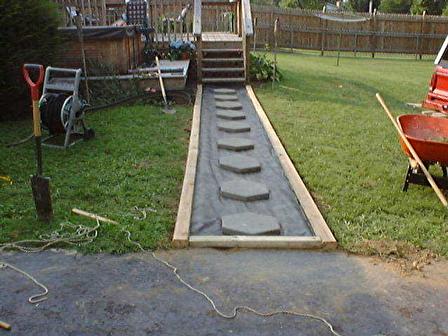  Once the walkway was dug out, I laid out landscape timbers, lay down a
felt ground cover and replace the stepping stones.
Once the walkway was dug out, I laid out landscape timbers, lay down a
felt ground cover and replace the stepping stones. |
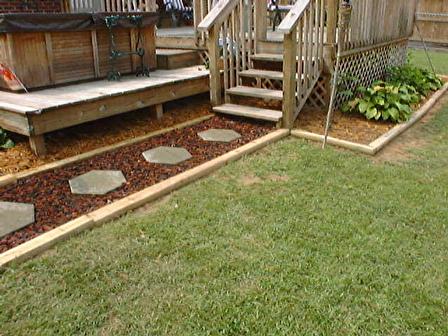
  The final step on the walkway was to cover the felt with cinder
rock. Then I moved on to much the same process around the sides of
the deck.
The final step on the walkway was to cover the felt with cinder
rock. Then I moved on to much the same process around the sides of
the deck. |
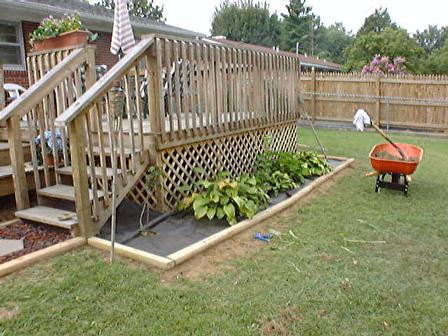
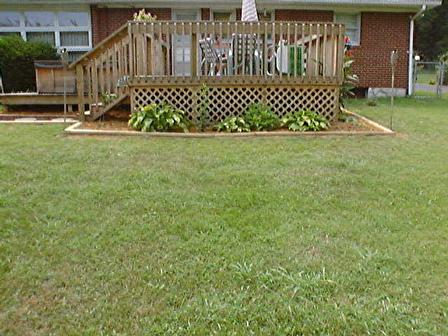
  These pictures show the progress of the project around the deck.
 |
  The finished product is shown in these next four pictures.
 |
  |
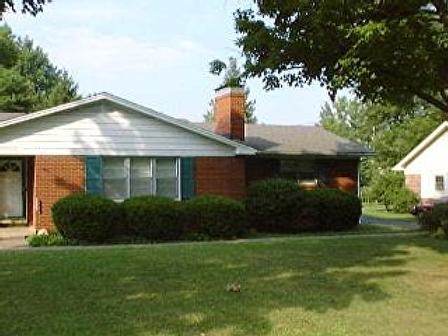
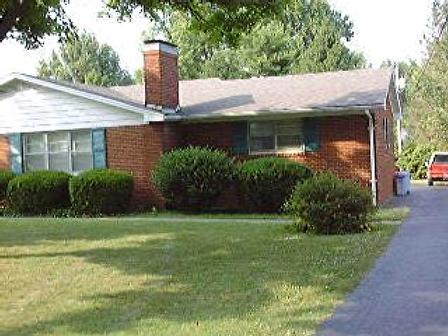
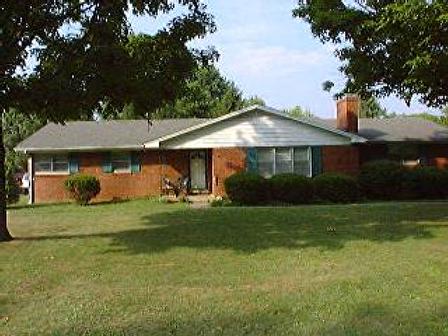 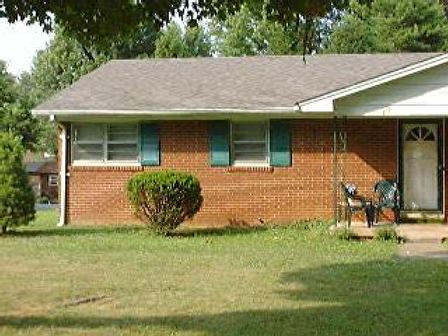 These last four shots are pictures of the front of the house.
 |
  |